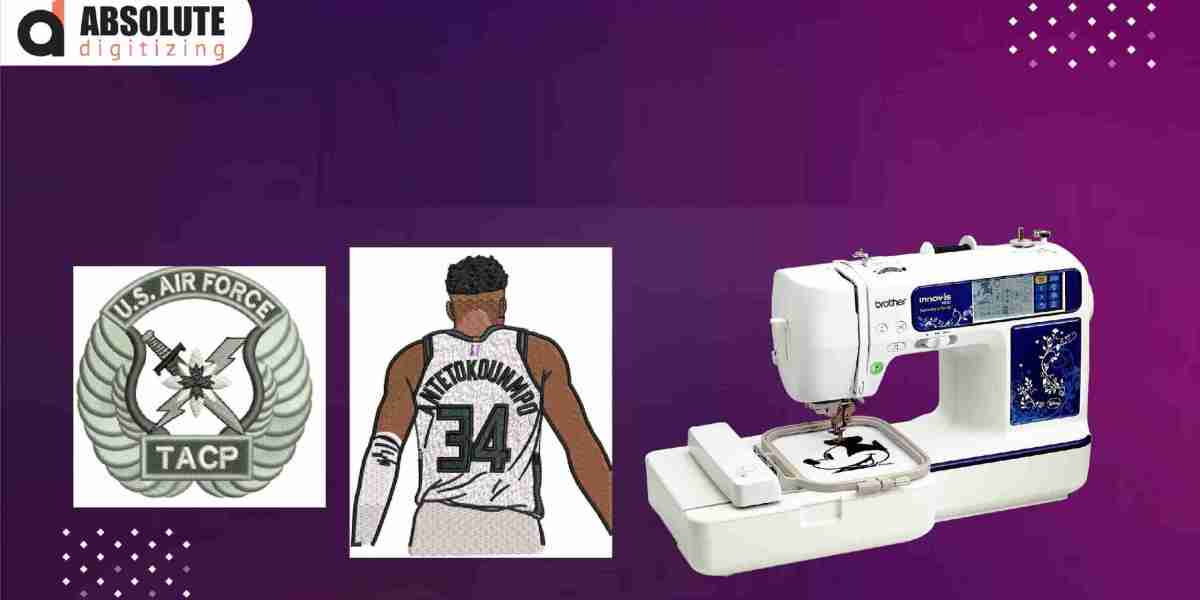

Have a sharp-looking logo on your computer but no idea how to get it onto an embroidery machine? You are not alone. A JPG may look perfect on your screen, but an embroidery machine cannot stitch pixels.
To turn a JPG logo into a DST embroidery file, you need to transform the artwork into stitch instructions. That means preparing the logo, creating stitch objects, selecting suitable embroidery settings, and exporting the finished design as a DST file.
Whether you are preparing a business logo for uniforms, caps, jackets, or promotional products, understanding this process can help you get cleaner and more professional embroidery.
What Is a JPG Logo?
JPG is a common image format used for photographs, logos, graphics, and web images.
A JPG stores visual information as pixels. Your embroidery machine, however, needs information about stitches, stitch direction, sequence, density, and other sewing instructions.
That is why changing the file extension from .jpg to .dst does not create a usable embroidery design.
The artwork must first be digitized.
What Is a DST Embroidery File?
DST is a widely used embroidery machine file format associated with stitch data.
Instead of storing a picture, a DST file contains instructions that help an embroidery machine create a design using thread.
Depending on the design and machine, the file can contain information related to:
- Stitch movement
- Stitch sequence
- Jump movements
- Needle positioning
- Color-change information
- Design dimensions
One important point is that DST files are primarily stitch files. They may not preserve the same visual color information found in the original JPG.
Why You Need to Digitize a JPG Logo
Imagine giving a painter a photograph and asking them to recreate it using thread. They cannot simply copy every pixel.
They have to decide which areas should become fills, which edges should become satin stitches, and how the design should be built layer by layer.
Embroidery digitizing works in a similar way.
When you turn a JPG logo into a DST embroidery file, the artwork is converted into a stitch plan that the machine can understand.
How to Turn a JPG Logo into a DST Embroidery File
The exact workflow can vary depending on the software and complexity of the logo, but these are the main steps.
Step 1: Start With a Clean JPG
The better your source image, the easier the digitizing process can be.
Try to use a JPG with:
- Clear edges
- Good resolution
- Strong contrast
- Simple shapes
- Minimal background clutter
- Accurate colors
A blurry logo can make it difficult to identify boundaries between different elements.
Step 2: Clean Up the Artwork
Before digitizing, remove unnecessary elements from the image.
You may need to:
- Remove the background
- Correct rough edges
- Simplify small details
- Improve contrast
- Separate colors
- Fix distorted shapes
This stage is often overlooked, but clean artwork can make the digitizing process much smoother.
Step 3: Decide the Finished Embroidery Size
Think about where the logo will be stitched.
A logo intended for a cap will have different size requirements from one intended for a jacket back.
Before creating the final DST file, determine:
- Width
- Height
- Hoop size
- Fabric type
- Placement
- Intended product
The design should fit comfortably within the usable embroidery area.
Step 4: Create Stitch Objects
Now the JPG artwork needs to be recreated using embroidery stitches.
Different parts of the logo may require different stitch types.
Common choices include:
Running stitches: Useful for outlines, fine details, and narrow lines.
Satin stitches: Often used for borders, lettering, and narrow shapes.
Fill stitches: Useful for larger areas of color.
The correct stitch type depends on the shape and size of each design element.
Step 5: Set Stitch Direction
Stitch direction affects how embroidered areas look and behave.
Instead of filling every area in the same direction, a digitizer can change stitch angles to follow the shape of the artwork.
Good stitch direction can improve texture, depth, and overall appearance.
Step 6: Add Underlay Stitches
Underlay creates a foundation beneath many embroidery elements.
It can help:
- Stabilize fabric
- Support top stitches
- Improve coverage
- Reduce shifting
- Give satin stitches a stronger base
The type and amount of underlay should be selected based on the fabric, design, and stitch type.
Step 7: Adjust Stitch Density
Stitch density controls how closely stitches are packed together.
Too much density can cause:
- Fabric puckering
- Excessive thread buildup
- Thread breaks
- Stiff embroidery
Too little density can create gaps and poor coverage.
There is no single density value that works for every logo. Fabric, thread, design size, and stitch type all matter.
Step 8: Add Pull Compensation
Fabric can shift or pull as the machine stitches.
Pull compensation helps account for this movement and can help preserve the intended shape of the design.
This is especially important for lettering and shapes where clean edges matter.
Step 9: Set the Stitch Sequence
The order in which elements are stitched can affect the final result.
A good sequence can reduce unnecessary jumps and color changes while helping different elements layer correctly.
Before exporting, review the sequence carefully.
Step 10: Export as DST
Once the design has been digitized and checked, export it as a DST file.
Do not simply rename the original JPG.
The exported DST should contain actual stitch information created during the digitizing process.
JPG to DST Conversion Software
Embroidery digitizing software can help convert artwork into machine-ready stitch files.
Depending on the software, you may be able to:
- Import artwork
- Create embroidery objects
- Edit stitch settings
- Adjust density
- Set stitch directions
- Preview the design
- Save or export supported machine formats
Automatic conversion tools can sometimes produce a starting point, but they may struggle with small lettering, overlapping shapes, gradients, and complex logos.
For important business logos, manual digitizing and professional review can often produce better results.
Automatic vs. Professional JPG to DST Conversion
There are two common approaches.
Automatic Conversion
Automatic tools analyze an image and attempt to create embroidery objects.
This can be convenient for simple artwork, especially when you are experimenting or learning.
However, automatic conversion may create:
- Poor stitch sequence
- Excessive density
- Unwanted jumps
- Weak underlay
- Difficult lettering
- Uneven coverage
The result should always be reviewed before stitching.
Professional Digitizing
Professional digitizing involves manually planning how the logo should be stitched.
A digitizer considers the artwork as well as the final embroidery application.
This can be especially valuable for:
- Company logos
- Uniform embroidery
- Small lettering
- Caps
- Jackets
- Detailed artwork
- Large production orders
If you need a professionally prepared DST file, Absolute Digitizing can help turn artwork into embroidery-ready designs suited to the intended project.
How to Prepare a Logo for Better DST Results
Not every JPG should be converted exactly as it appears.
Embroidery has physical limitations, so some design elements may need adjustment.
Simplify Tiny Details
Small lines and decorative elements may disappear when stitched.
Removing unnecessary details can actually make the embroidered logo look cleaner.
Make Small Text Larger
Tiny lettering is one of the most difficult parts of logo embroidery.
If the text is too small, individual letters may become unreadable.
Instead of shrinking the whole logo, consider simplifying or redesigning small text.
Avoid Very Thin Lines
Extremely thin lines may not translate well into embroidery.
A slightly thicker embroidered line can often produce a more reliable result.
Test the DST File Before Production
Never assume that a DST file will stitch perfectly just because it opens correctly.
A computer preview cannot fully reproduce how thread interacts with fabric.
Before using the final garment, test the design on a similar fabric.
Pay attention to:
- Stitch coverage
- Letter clarity
- Thread tension
- Puckering
- Thread breaks
- Design alignment
- Overall appearance
A small test can save an expensive garment.
Common Problems When Converting JPG to DST
The Logo Looks Good on Screen but Bad on Fabric
This can happen when the digitizing settings do not match the fabric.
The solution may involve changing density, underlay, stitch direction, or compensation.
The Design Has Too Many Stitches
Automatic conversion can sometimes create unnecessary stitches.
A manual cleanup can reduce stitch count while maintaining good coverage.
Small Text Is Unreadable
The original logo may contain text that is simply too small for embroidery.
Increasing letter size or simplifying the wording may be necessary.
Thread Breaks Keep Happening
Thread breaks can have several causes.
Check the design for excessive density, long jumps, sharp stitch changes, and other digitizing issues. Also inspect the needle, thread, tension, and machine setup.
The DST File Has Unexpected Colors
DST is primarily a stitch-data format, and color information can be handled differently depending on the software and machine.
Always check the thread sequence before beginning the final stitch-out.
How to Make a DST File Machine-Ready
Before transferring the file, use this quick checklist:
- Confirm the DST file opens correctly.
- Check the design dimensions.
- Confirm the design fits your hoop.
- Review the stitch sequence.
- Check the stitch count.
- Review color changes.
- Look for unnecessary jumps.
- Preview the design.
- Test stitch the design if possible.
- Save a backup of the original artwork and embroidery file.
This simple routine can prevent many avoidable problems.
Benefits of Converting a Logo to DST
Creating a DST embroidery file from your logo can make it easier to use the same branding across different products and embroidery workflows.
A properly digitized logo can be used for projects such as:
- Work uniforms
- Polo shirts
- Caps
- Jackets
- Tote bags
- Embroidered patches
- Promotional clothing
The important part is that the design should be prepared for the specific size, fabric, and application.
A logo digitized for a large jacket may not perform the same way when reduced for a small cap.
Frequently Asked Questions
1. How do I turn a JPG logo into a DST embroidery file?
You need to digitize the JPG using embroidery software or a professional digitizing service. The artwork is recreated using stitches and then exported as a DST file.
2. Can I simply rename JPG to DST?
No. Changing .jpg to .dst does not convert the image into stitch data. The logo must be properly digitized.
3. Is DST suitable for all embroidery machines?
DST is widely used, but not every embroidery machine uses the same format. Always check your machine's supported file types before exporting.
4. Can I convert a detailed logo into DST?
Yes, but detailed artwork may need simplification. Tiny text, thin lines, gradients, and very small elements can be challenging to reproduce with thread.
5. How can I get a better-quality JPG-to-DST conversion?
Start with clean artwork, choose the correct finished size, use suitable stitch types and density, plan the stitch sequence carefully, and test the final design before production. Professional digitizing can also help with complex logos.
Conclusion
Learning how to turn a JPG logo into a DST embroidery file is really about converting artwork into a carefully planned set of stitches. A simple file extension change is not enough.
For reliable results, begin with clean artwork, decide on the final size, digitize each element using suitable stitch types, adjust density and underlay, plan the sequence, and export the finished design as DST.
Most importantly, always think about the final fabric and application. A logo that looks perfect on a computer may need small changes to look equally good in thread.
With careful preparation and testing, your JPG logo can become a clean, professional embroidery design ready for production.